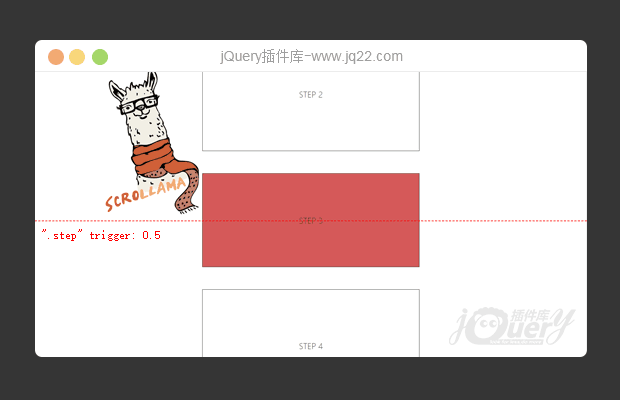

插件描述:Scrollama是一个轻量级JavaScript库, 用于检测页面滚动时监听元素是否重叠。
如何使用
基本
您可以使用此库来简单地触发步骤, 类似于点之类的内容。如果您需要对交互式控件进行更多的控制, 或者不希望遵循粘性的 scrollytelling 模式, 这将非常有用。
您可以使用所需的任何 id/类命名约定。HTML 结构应该如下:
<!--you don't need the "data-step" attr, but can be useful for storing instructions for JS -->
<div class='step' data-step='a'></div>
<div class='step' data-step='b'></div>
<div class='step' data-step='c'></div>
// 实例化 scrollama
const scroller = Scrollama()

// 设置实例, 传递回调函数
scroller.setup({
  step: '.step', // 必填
  offset: 0.5,   // 偏移optional, default = 0.5
  debug: false,  // 调试optional, default = false
})
.onStepEnter(handleStepEnter)
.onStepExit(handleStepExit)
粘性图形
要实现粘滞图形 scrollytelling 模式, 您需要以下三元素 (container, graphic, step)。结构应该如下:
<!-- container = ".scroll" -->
<div class='scroll'>
  <!-- graphic = ".scroll__graphic" -->
  <div class='scroll__graphic'>
    <!--graphic / chart code here-->
  </div>
  <div class='scroll__text'>
    <!-- steps = ".step" -->
    <div class='step' data-step='a'></div>
    <div class='step' data-step='b'></div>
    <div class='step' data-step='c'></div>
  </div>
</div>
// 实例化scrollama
const scroller = Scrollama()
// 设置实例,传递回调函数
scroller.setup({
  step: '.scroll__text .step', // required
  container: '.scroll',        // required (for sticky)
  graphic: '.scroll__graphic', // required (for sticky)
  offset: 0.5,                 // optional, default = 0.5
  debug: false,                // optional, default = false
})
.onStepEnter(handleStepEnter)
.onStepExit(handleStepExit)
.onContainerEnter(handleContainerEnter)
.onContainerExit(handleContainerExit)
API
scrollama.setup([options])
step (string):将触发更改的步骤元素的选择器。必填
container (string): 包含滚动的所有内容的元素的选择器。选
graphic (string): 将变为固定的图形元素的选择器。选
offset (number, 0 - 1): 从视窗的顶部到触发步骤有多远。(默认值: 0.5)
progress (boolean): 是否触发增量步骤进度更新。(默认值: false)
debug (boolean): 是否显示可视化调试工具。(默认值: false)
PREVIOUS:
NEXT:
相关插件-滚动
😃
- 😀
- 😉
- 😥
- 😵
- 😫
- 😘
- 😡
- 👍
- 🌹
- 👏
- 🍺
- 🍉
- 🌙
- ⭐
- 💖
- 💔
😃
取消回复
- 😀
- 😉
- 😥
- 😵
- 😫
- 😘
- 😡
- 👍
- 🌹
- 👏
- 🍺
- 🍉
- 🌙
- ⭐
- 💖
- 💔

