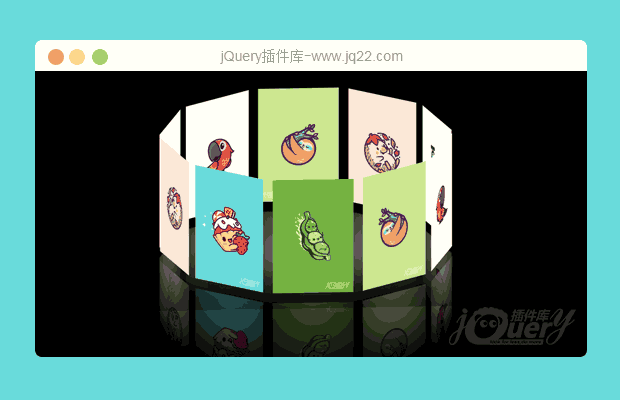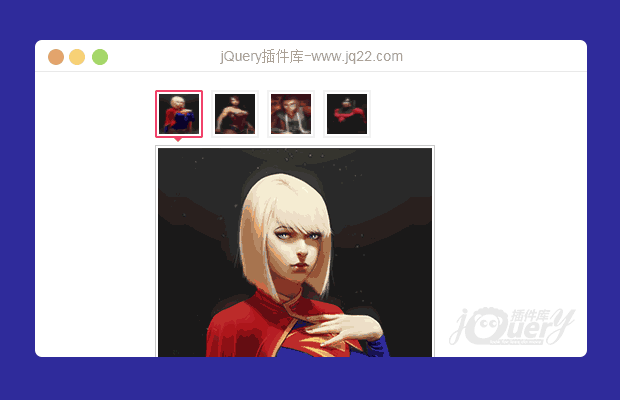

插件描述:仿淘宝商品评价中的图片浏览插件,支持多条评论、不同尺寸图片
一、引入jQuery和该插件<
<scriptt src="http://www.jq22.com/jquery/jquery-1.10.2.js"></scriptt>
<scriptt src="js/commentImg.js"></scriptt></code>
二、html
<div class="tm-m-photos">
  	<ul class="tm-m-photos-thumb">
    	<li data-src="img/01.png"> <img src="img/01.png"> <b class="tm-photos-arrow"></b> </li>
    	<li data-src="img/02.png"> <img src="img/02.png"> <b class="tm-photos-arrow"></b> </li>
    	<li data-src="img/03.png"> <img src="img/03.png"> <b class="tm-photos-arrow"></b> </li>
    	<li data-src="img/04.png"> <img src="img/04.png"> <b class="tm-photos-arrow"></b> </li>
  	</ul>
  	<div class="tm-m-photo-viewer">
	  	<img src="img/01.png">
		<a class="tm-m-photo-viewer-navleft"><i></i></a>
		<a class="tm-m-photo-viewer-navright"><i></i></a>
	</div>
</div>
三、js
$(".tm-m-photos").commentImg({
    activeClass: 'tm-current', //缩略图当前状态class,默认'current'
    nextButton: '.tm-m-photo-viewer-navright', //向后翻页按钮,默认'.next'
    prevButton: '.tm-m-photo-viewer-navleft', //向前翻页按钮,默认'.prev'
    imgNavBox: '.tm-m-photos-thumb', //缩略图容器,默认'.photos-thumb'
    imgViewBox: '.tm-m-photo-viewer' //浏览图容器,默认'.photo-viewer'
});
PREVIOUS:
NEXT:
相关插件-图片展示
讨论这个项目(5)回答他人问题或分享插件使用方法奖励jQ币 评论用户自律公约
慕玲 0
2019/1/4 11:08:28
-
有一个问题,Safari下切换着图片可以正常放大图片,但是如果只是点击同一张图片,只能第一次展示,因为commentImg.js代码里面的的img的src没有变,就没法触发onload方法,所以要把img.onload前面声明img的代码,放到onload的方法里面。也不知道我这样描述是否正确,凑合着看看吧!-- 小白
回复
😃
- 😀
- 😉
- 😥
- 😵
- 😫
- 😘
- 😡
- 👍
- 🌹
- 👏
- 🍺
- 🍉
- 🌙
- ⭐
- 💖
- 💔
😃
取消回复
- 😀
- 😉
- 😥
- 😵
- 😫
- 😘
- 😡
- 👍
- 🌹
- 👏
- 🍺
- 🍉
- 🌙
- ⭐
- 💖
- 💔

