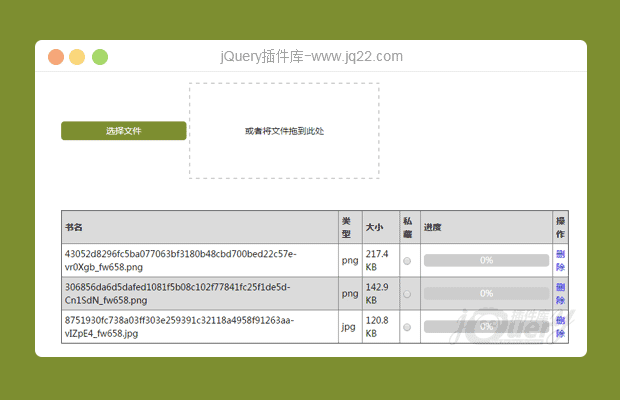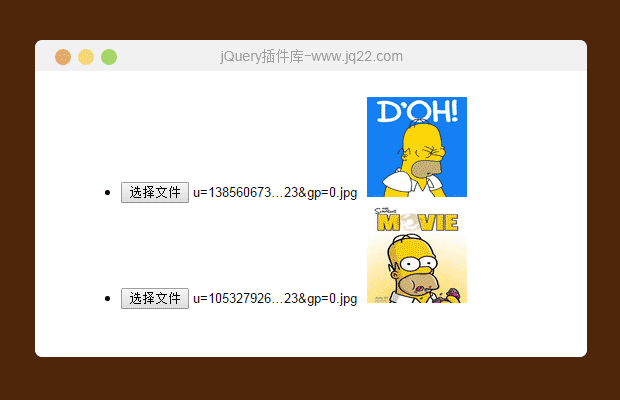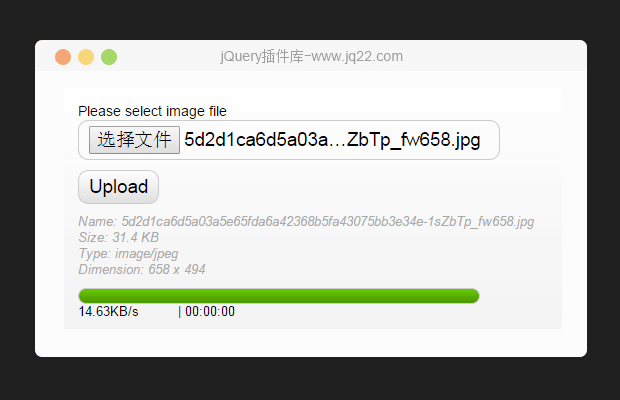

这个控件对本地图片拖入网页内显示的效果还算不错,可惜的是它官网需要翻墙才能正常访问……
我就顺手转到这里来给各位看了。
附件的源码的readme文件,已经把说明讲得很清楚了,稍懂英文都知道啥意思。还不懂也可以看看下方:
用法:
引用 dist/js/dropify.js, dist/css/dropify.css 和 dist/fonts/* 到项目中,并使用jq实例化:
$('.dropify').dropify();选项
defaultFile: 如果有默认文件可使用它。可以在使用插件时初始化此选项,或直接在DOM元素中使用data-default-file="url_of_your_file"(推荐)。
<input type="file" class="dropify" data-default-file="url_of_your_file" />
height: dropify元素高度。或如下例子设置DOM元素属性: data-height="300"
<input type="file" class="dropify" data-height="300" />
maxFileSize: 设置上传文件大小。如果超出设置大小则显示错误信息。单位有:K, M 和 G.
<input type="file" class="dropify" data-max-file-size="3M" />
minWidth: 设置最小宽度。超出此选项会显示错误信息
<input type="file" class="dropify" data-min-width="400" />
maxWidth: 设置最大宽度。超出此选项会显示错误信息
<input type="file" class="dropify" data-max-width="1000" />
minHeight: 设置最小高度。超出此选项会显示错误信息
<input type="file" class="dropify" data-min-height="400" />
maxHeight: 设置最大高度。超出此选项会显示错误信息
<input type="file" class="dropify" data-max-height="1000" />
disabled: 使控件失效。
<input type="file" class="dropify" disabled="disabled" />
showRemove: 显示移除按钮。默认为true.
<input type="file" class="dropify" data-show-remove="false" />
showLoader: 显示加载器。默认: true.
<input type="file" class="dropify" data-show-loader="false" />
showErrors: 是否显示错误信息,默认: true.
<input type="file" class="dropify" data-show-errors="true" />
errorsPosition: 错误信息显示位置,有两选项:overlay or outside。默认: overlay.
<input type="file" class="dropify" data-errors-position="outside" />
allowedFormats: 设置允许通过或拒绝的图片格式。如添加属性 data-allowed-formats="portrait square"只允许portrait和square图上传。默认值:
['portrait', 'square', 'landscape'].
<input type="file" class="dropify" data-allowed-formats="portrait square" />
allowedFileExtensions: 允许文件扩展名。例如添加属性 data-allowed-file-extensions="pdf png psd" 将允许PDF, PNG 和 PSD 文件上传默认值所有扩展名都允许: ['*'].
<input type="file" class="dropify" data-allowed-file-extensions="pdf png psd" />
maxFileSizePreview: 设置预览文件大小的最大值(假设为图片)。如果文件大小超出此值,那么只有文件图标而不显示预览图。单位有K, M 和 G。
<input type="file" class="dropify" data-max-file-size-preview="3M" />
messages: 此选项能让你设置自定义信息,并仅能用数组设置并初始化。该信息会被tpl选项替换。
$('.dropify').dropify({
    messages: {'default': 'Drag and drop a file here or click','replace': 'Drag and drop or click to replace','remove':  'Remove','error':   'Ooops, something wrong appended.'}
}error: 此项能代替默认的错误信息,仅能用数组方式初始化。 {{ value }} 为代替的选项值文本标记。
$('.dropify').dropify({
    error: {'fileSize': 'The file size is too big ({{ value }} max).','minWidth': 'The image width is too small ({{ value }}}px min).','maxWidth': 'The image width is too big ({{ value }}}px max).','minHeight': 'The image height is too small ({{ value }}}px min).','maxHeight': 'The image height is too big ({{ value }}px max).','imageFormat': 'The image format is not allowed ({{ value }} only).'}
}tpl: 用于更新默认的模板,仅在初始化时用数组方式设置。
$('.dropify').dropify({
    tpl: {
        wrap:            '<div class="dropify-wrapper"></div>',
        loader:          '<div class="dropify-loader"></div>',
        message:         '<div class="dropify-message"><span class="file-icon" /> <p>{{ default }}</p></div>',
        preview:         '<div class="dropify-preview"><span class="dropify-render"></span><div class="dropify-infos"><div class="dropify-infos-inner"><p class="dropify-infos-message">{{ replace }}</p></div></div></div>',
        filename:        '<p class="dropify-filename"><span class="file-icon"></span> <span class="dropify-filename-inner"></span></p>',
        clearButton:     '<button type="button" class="dropify-clear">{{ remove }}</button>',
        errorLine:       '<p class="dropify-error">{{ error }}</p>',
        errorsContainer: '<div class="dropify-errors-container"><ul></ul></div>'}
}
事件
dropify.beforeClear: 该事件在点击“移除”按钮时呼叫,并在清理预览图之前。你能使用element.xxxx来访问所有的Dropify对象属性。
var drEvent = $('.dropify').dropify();
drEvent.on('dropify.beforeClear',
function(event, element) {
    return confirm("Do you really want to delete \"" + element.filename + "\" ?");
});dropify.afterClear: 该事件在点击“移除”按钮时呼叫,并在清理预览图之后。你能使用element.xxxx来访问所有的Dropify对象属性。
var drEvent = $('.dropify').dropify();
drEvent.on('dropify.afterClear',
function(event, element) {
    alert('File deleted');
});dropify.errors: 当一个或多个错误在进程当中出现时该事件被呼叫。
var drEvent = $('.dropify').dropify();
drEvent.on('dropify.errors',
function(event, element) {
    alert('Has Errors!');
});dropify.error.xxxxx: 另外dropify.errors可以根据具体错误事件来执行各自的逻辑。
var drEvent = $('.dropify').dropify();
drEvent.on('dropify.error.fileSize',
function(event, element) {
    alert('Filesize error message!');
});
drEvent.on('dropify.error.minWidth',
function(event, element) {
    alert('Min width error message!');
});
drEvent.on('dropify.error.maxWidth',
function(event, element) {
    alert('Max width error message!');
});
drEvent.on('dropify.error.minHeight',
function(event, element) {
    alert('Min height error message!');
});
drEvent.on('dropify.error.maxHeight',
function(event, element) {
    alert('Max height error message!');
});
drEvent.on('dropify.error.imageFormat',
function(event, element) {
    alert('Image format error message!');
});讨论这个项目(31)回答他人问题或分享插件使用方法奖励jQ币 评论用户自律公约
-
用js加载后的DOM,上传失效,怎么破
怎么使用js设置默认文件
- 😀
- 😉
- 😥
- 😵
- 😫
- 😘
- 😡
- 👍
- 🌹
- 👏
- 🍺
- 🍉
- 🌙
- ⭐
- 💖
- 💔
- 😀
- 😉
- 😥
- 😵
- 😫
- 😘
- 😡
- 👍
- 🌹
- 👏
- 🍺
- 🍉
- 🌙
- ⭐
- 💖
- 💔


